
Reasons TPO Roofing is a Popular Choice for Commercial Buildings
Professional commercial roofing contractors recognize numerous advantages that make TPO an excellent option for modern construction and renovation projects.


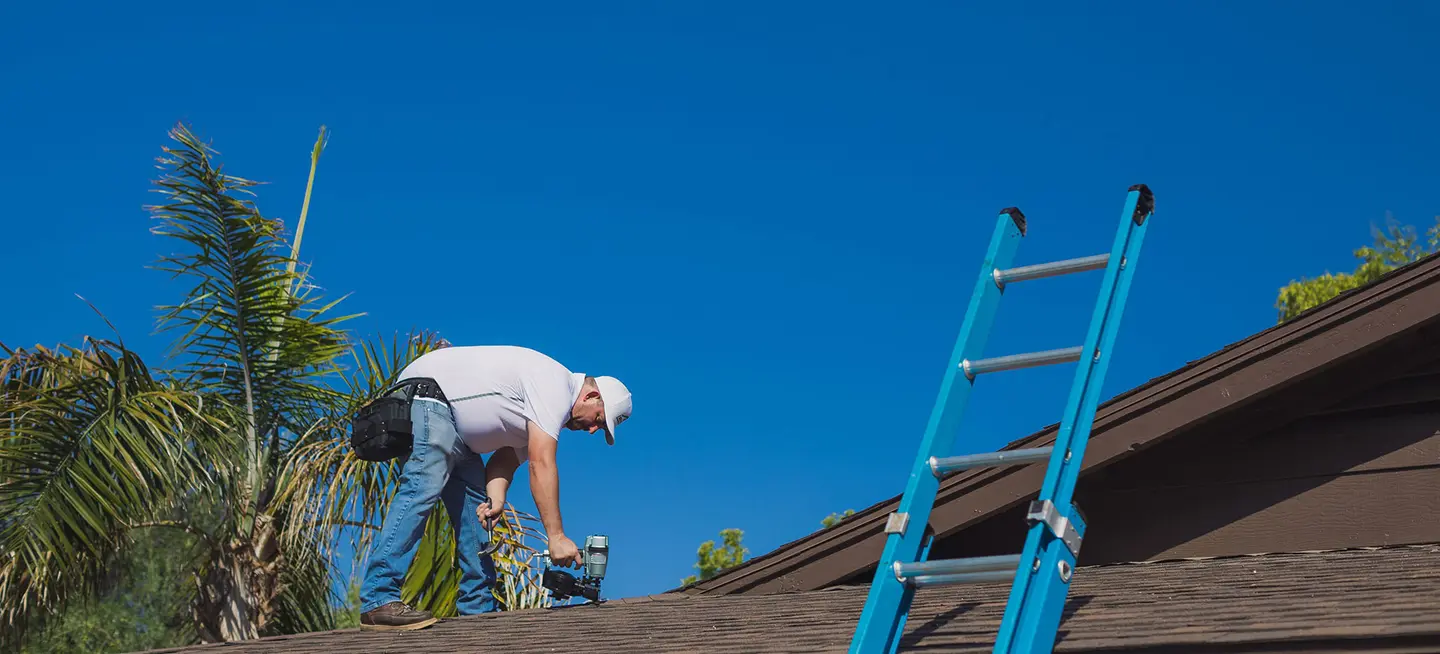
Roof flashing plays a vital role in protecting the property from water intrusion.
Roof flashing is a strong aspect of any roofing system, created to halt water intrusion at vulnerable points where different surfaces or materials meet. Properly installed flashing protects your property from leaks, mold, and costly structural damage. Here’s an essential, professional guide to understanding roof flashing, its types, and the basics of installation.
Roof flashing is typically a thin, weather-resistant material—most often galvanized steel or aluminum—used to direct water away from joints and intersections on the roof. Flashing is installed wherever the roof surface meets vertical walls, chimneys, skylights, valleys, or any other protrusions. Its main function is to guarantee water runs down and away from these critical areas, rather than seeping into the roof deck or interior of the building.
Without proper flashing, water can rapidly penetrate the smallest gaps, leading to rot, mold, and long-term structural issues. For this reason, flashing is considered one of the most important defenses against water damage on any roof.
There are many different types of roof flashing, each created for specific roof features and intersections:
Continuous flashing (apron flashing): This is a long, single piece of metal that acts like an apron, carrying water down to the shingles below. Expansion joints are often included to accommodate movement due to temperature changes.
Step flashing: Used where the roof touches a vertical wall (such as a dormer or chimney), step flashing consists of rectangular pieces bent at a 90-degree angle. These pieces are layered with each course of shingles to create a watertight barrier.
Base flashing: Installed at the base of roof features like chimneys, base flashing is the bottom piece in a two-part flashing system.
Counter-flashing: Placed above or opposite base flashing, counter-flashing is often embedded into masonry or siding to cover and protect the base flashing.
Valley flashing: Installed in the area where two roofs meet, valley flashing directs water away from these highly vulnerable intersections.
Drip edge: Thin metal flashing is installed along the roof’s edges to help water drip off without damaging the fascia or causing leaks.
Kickout flashing: Used where step flashing ends and the gutter begins, kickout flashing directs water away from the wall and into the gutter.
Vent pipe flashing: Specially shaped flashing that seals around vent pipes protruding from the roof, typically made from metal or rubber.
Skylight flashing: Custom or manufacturer-provided flashing designed to prevent leaks around skylights.
Professional installation is crucial for effective roof flashing. Here’s a general overview of proper installation techniques for some common flashing types:
Step flashing (roof-to-wall flashing): Each piece of step flashing is bent so half covers the roof and half extends up the wall. The pieces are installed in overlapping layers with each course of shingles, always embedded in roofing cement for a watertight seal. Nails are driven into the roof deck, not the wall, to allow for movement between the roof and the wall. The siding or wall cladding is then installed over the vertical leg of the flashing for added protection.
Valley flashing: Valley flashing is laid in the roof’s valleys before shingles are installed. It must be wide enough to handle the expected water flow and is typically set in roofing cement. Shingles are cut and laid over the valley flashing, leaving a portion of the metal exposed to provide proper water runoff.
Chimney flashing: Chimney flashing uses a combination of step flashing (along the sides) and base flashing (at the bottom), covered by counter-flashing that is embedded into the chimney mortar. This process creates a layered system that directs water away from the chimney and roof intersection.
Vent pipe flashing: The flashing is slipped over the vent pipe and tethered to the roof deck. Shingles are cut to fit tightly around the flashing, and roofing cement is used to seal any exposed nails or seams.
Drip edge: Installed along the eaves and rakes of the roof, the drip edge is placed under the underlayment at the eaves and over the underlayment at the rakes. This step guarantees water is directed away from the fascia and into the gutters.
Kickout flashing: Installed at the base of a roof-to-wall intersection, kickout flashing bridges the gap between the end of the step flashing and the gutter, channeling water safely away from the wall.
Improper installation: Flashing that is not installed correctly can quickly fail, allowing water to seep into the roof structure. This issue is one of the leading causes of roof leaks.
Damaged or missing shingles: If shingles around flashing are damaged or missing, water can bypass the flashing and enter the home.
Cracks and holes: Over time, flashing can develop cracks or holes due to weathering, corrosion, or physical damage. Regular inspections are necessary to catch these issues early.
Debris accumulation: Leaves, twigs, and other debris can build up around flashing, blocking water flow and increasing the risk of leaks.
For shingle roofs, flashing is typically installed beneath the shingles at all vulnerable points, such as valleys, roof-to-wall intersections, chimneys, and vents. Step flashing is especially important for shingle roofs, as it works in tandem with the overlapping shingle courses to shed water effectively.
While some homeowners may attempt DIY flashing repairs or installation, the process requires careful attention to detail and knowledge of best practices. Improperly installed flashing can lead to persistent leaks and costly repairs. A professional roofing company can guarantee that all flashing is installed to manufacturer specifications and local building codes, providing long-lasting protection for your home.
Roof flashing is a small but vital part of every roofing system. It safeguards your property from water intrusion at vulnerable points, preserving the integrity of your roof and the structure beneath. For the best results, trust a professional roofing company to handle flashing installation and repairs, guaranteeing your home remains dry and protected for years to come.
Irish Roofing Company provides Scottsdale with residential tile roof installation and replacement, shingle roof installation and replacement, metal roof installation and replacement, roof repair, roofing maintenance, and roof inspection services. Count on our uniformed, knowledgeable, and experienced roofers for high-quality roofing solutions.
Professional commercial roofing contractors recognize numerous advantages that make TPO an excellent option for modern construction and renovation projects.

Commercial roofing experts utilize specialized formulations designed for maximum durability in demanding conditions.

Composed of specialized materials designed to protect and enhance roofing systems, these coatings create a seamless, protective layer across roofing surfaces.
We offer solutions for every roof and budget. Call today for a quote. Whether it’s a roof installation, roof repair, or roof maintenance, our team is ready to help.